

Learn how to create amazing studio portraits with 3 Point Studio lighting techniques. Or is there really just 3 lights? Portrait photography in the studio with a step-by-step example. #betterpix #dust2life #portraits #howtophotography
From YouTube Transcript
To start, the first light we want in our setup is our key lighting our key light, is also otherwise known as our main lighting, key light is the same thing as Main Light. I’m using here a very large light on a stand I like my light to go a foot or so above the model’s head I don’t like to be straight on it creates a different shadow angle that doesn’t mimic the Sun so I like to go a foot or two above on the subject so I’ll go up here about a foot or two above and roughly the safe spot the normal spot and you can break these rules about 45 degrees between me and the model that’s our nice 45 degree angle light.
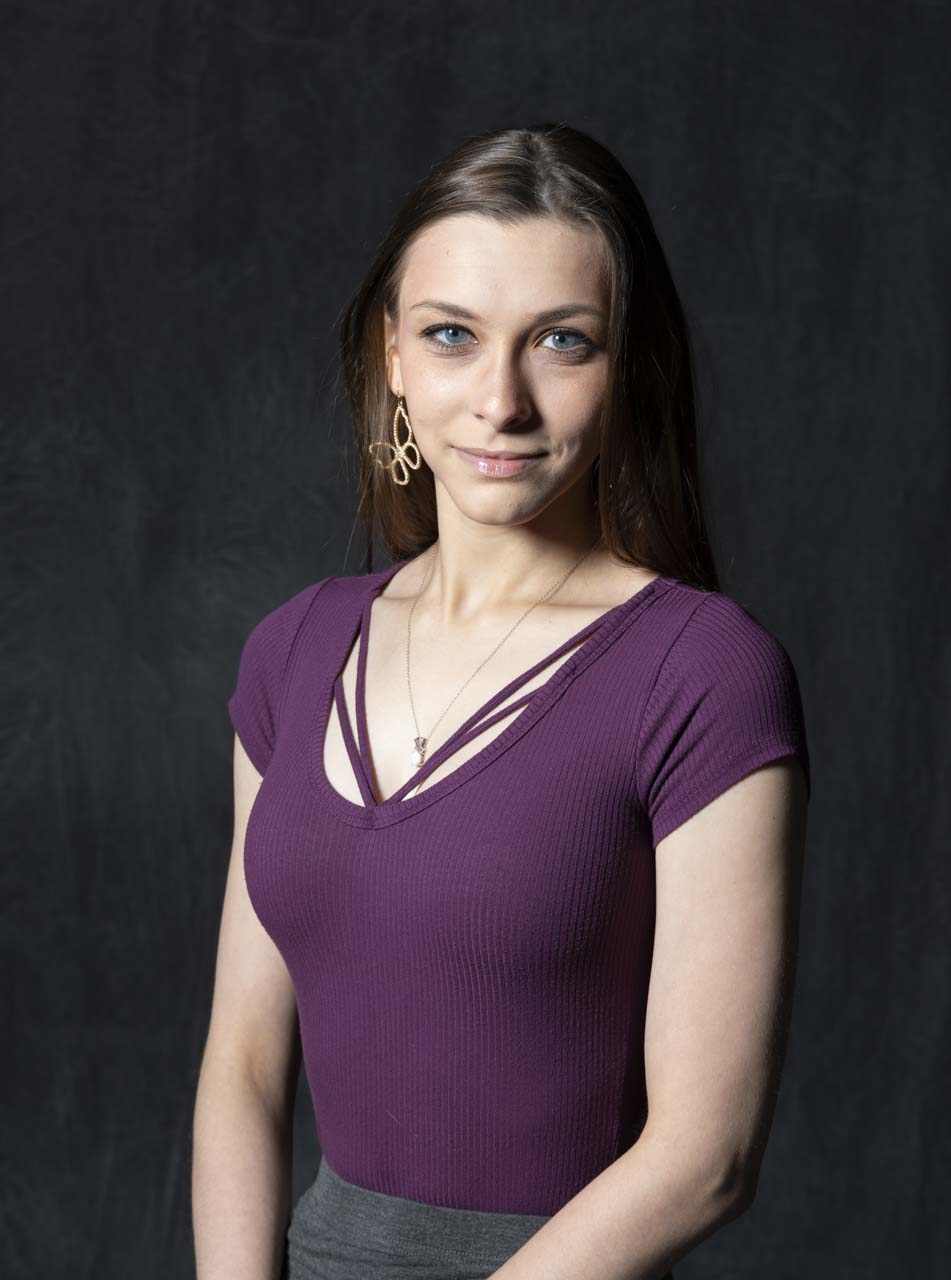
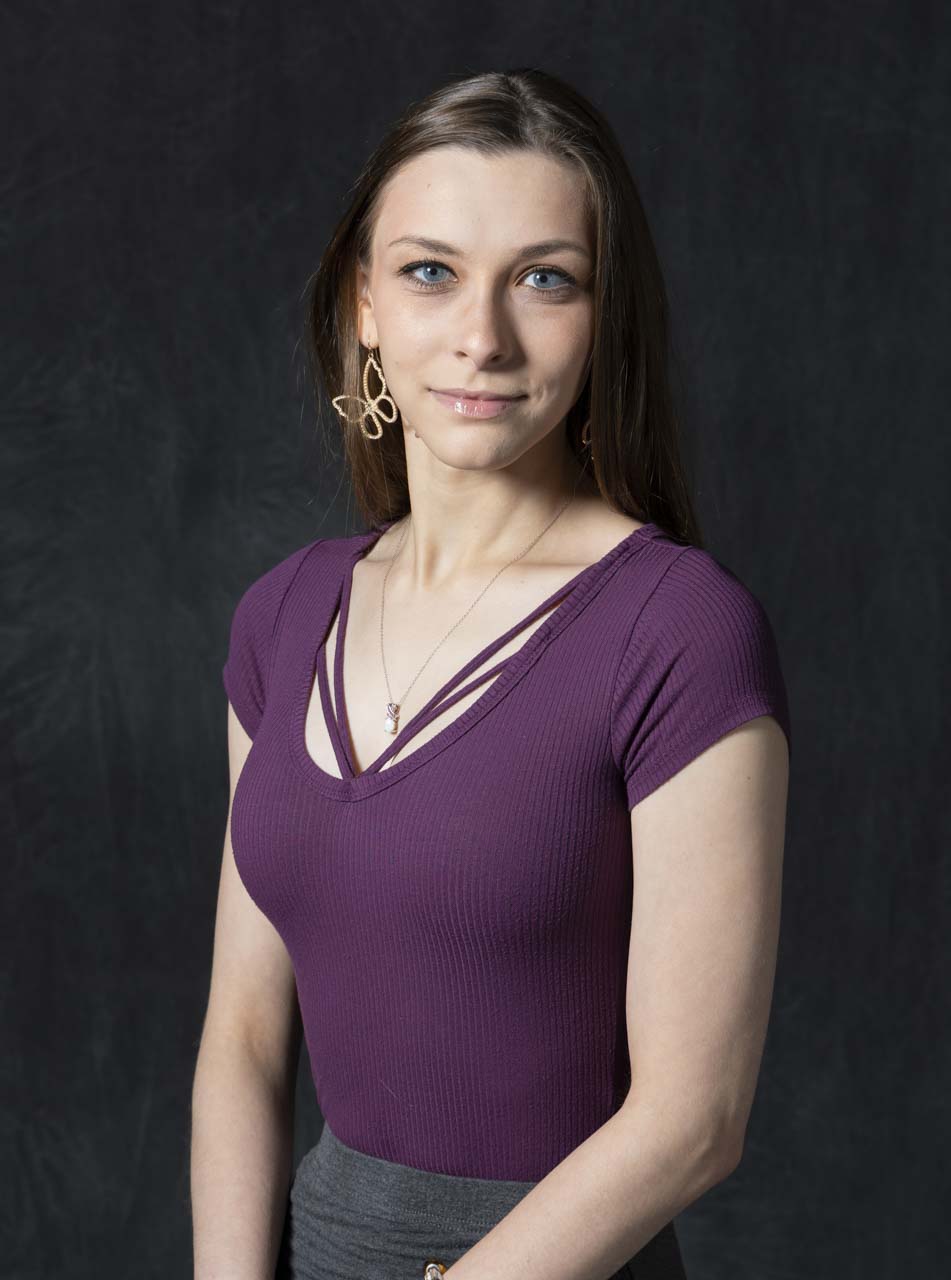
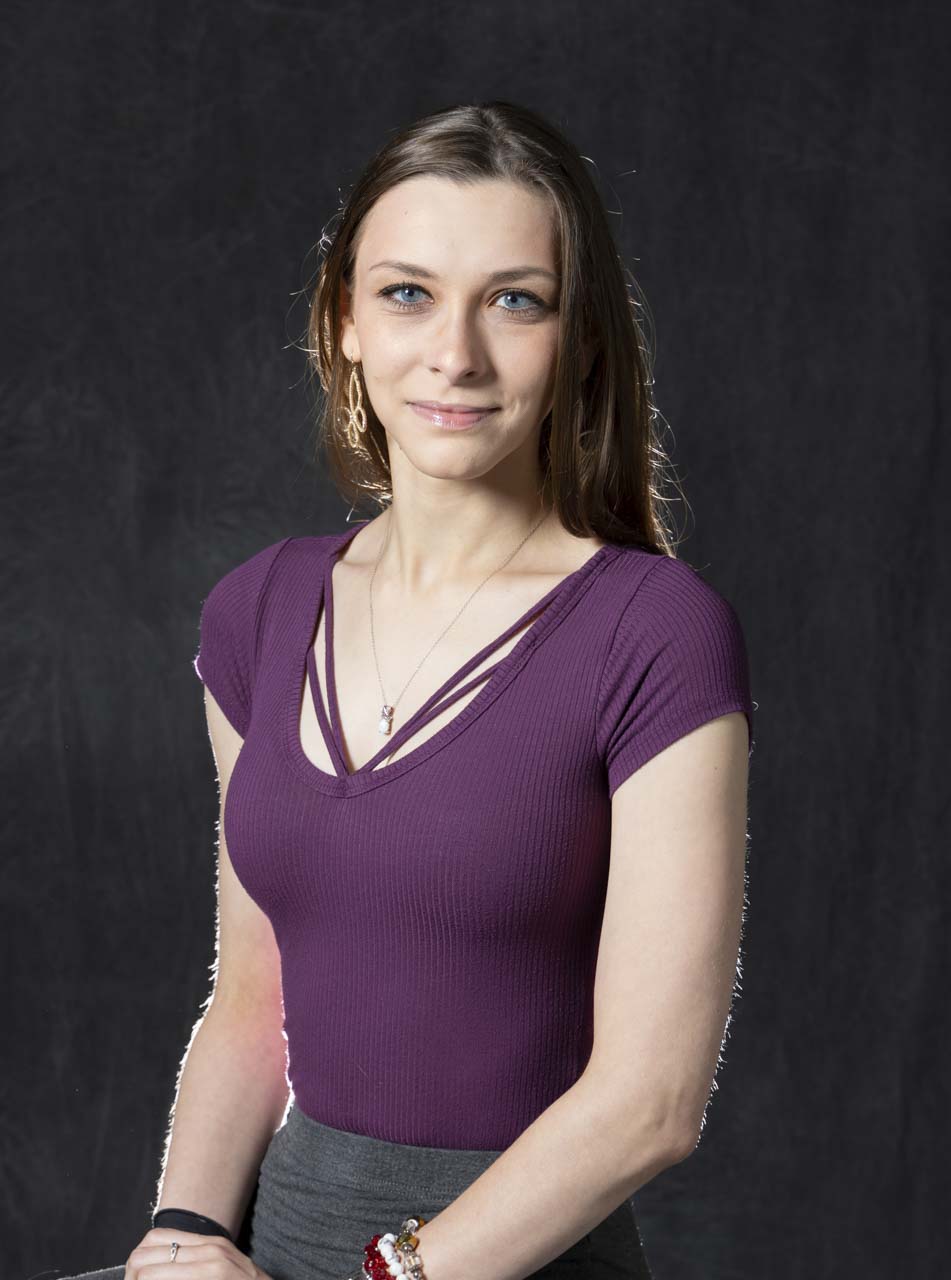
We could bring in a secondary light which would be a light either off to the side how about on the opposite side 45 degree angle or so if you don’t have a second light or an extra additional light you can use a reflector typically I like to use a reflector so I’m using my large reflector it’s about a six foot reflector and I’ll put that off to the side a little bit mimicking The Fill light the second light is the fill light now the thing I like about reflectors is for one they don’t cost as much for two they’re easier to use what I’ll find is someone has a actual another light or Flash it’s hard even if you have different modifiers to know how much is getting to which spot you might be blasting them with the same amount of light the nice thing about reflectors you can’t make this light brighter on the fill side you control the intensity by moving the light the reflector closer or further away but you can’t overpower the main light will still be the main light regardless of settings and modifiers which can be kind of tricky when you start using several different lights so I’m going to use a reflector I’m going to move in about like this on style so you can see the difference on the Shadows on our cheek on her hair it is significantly different than the piece let’s go ahead and bring that in for a photograph looking right here I’m also going to then add a third light now there’s a couple different varieties to this one I’m bringing another flash behind her now some people will move this flash off to the side in the same side as the main light opposite of the fill light they’ll light this one up and bring it onto the side of the face and it helps add like a little sculpting a little Third Dimension to your subject but it’s not necessarily it has to be directly here if you’re doing a tighter shot you could actually move the light behind the person and then it’s still not going to show up in the shot but sometimes don’t people don’t like that being if you’re doing a full body or three-quarter body it will show up in the shot then you have to touch it out then it’s just a pain so a lot of times people move to the side so let’s try one off to the side and then we’ll move one right behind look in your style I can see the reflector kind of coming off to the side let’s move this this called the back light now there’s a difference here we’re going to add in a background light which is definitely four lights and I said there was three kind of like the Three Musketeers so the backlight is on the subject’s back a background light will actually be on the physical background I’m gonna put this onto the back about like there and you can see it’s it’s more subtle you can see it definitely the hair but it’s not doing as much as the other one did but it’s a different look a different feel now I can blast this up a little bit harder if I want to maybe make it more pronounced and let’s try that we’re gonna blast a lot of light there more than I probably typically would I want full power we’ll see what happens and make a glow like an angel you see the difference there is more pronounced on the hand now let’s add the fourth light this fourth light here is considered either a hair light or a backlight depending on how I position it I have it on a boom pole here and if I put it on a boom pool.
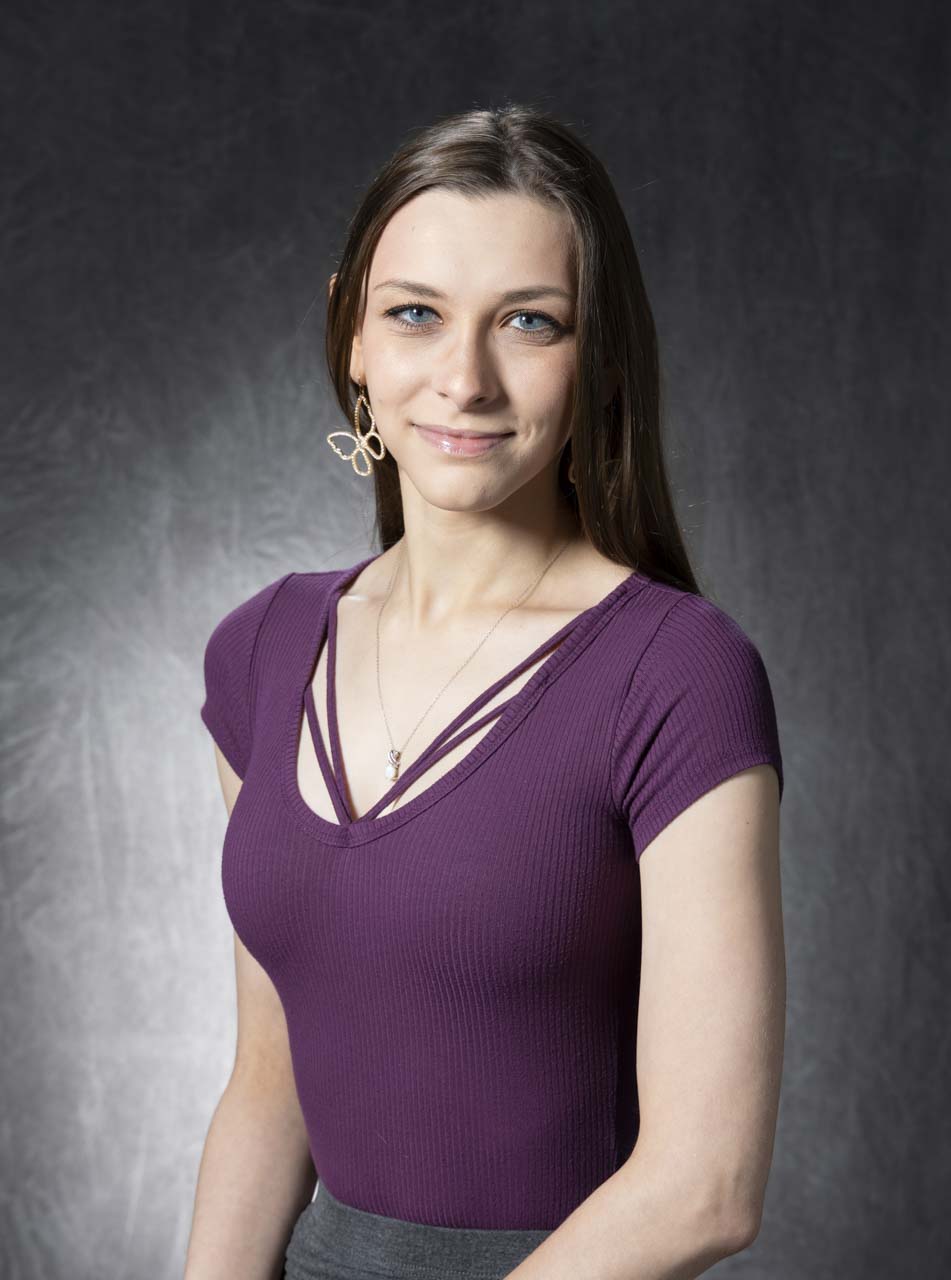
It’s going to actually accent the top of her head which is on a hair light now if you’re bald it becomes a headlight okay that’s a bad joke I want some separation for safety so if it falls which it shouldn’t I have sandbags and precautions but if it was to fall get tripped on it’s not going to fall on your person that’s liability painful and a mess we don’t want that so it’s going to fall it’s supposed to fall away from her that’s important in case something goes wrong um so we do have the hair lights and come onto the hair a little bit on the shoulders and then I’m going to take this like that was on her back and I’m going to turn it into a background light just by turning around blasting it right onto the background that’ll create a little different look some subtle variations on the gray background so main light most powerful light on the subject other angle got your reflector or a fill light then you can have a hair light or a backlight or you could even a background light to create all your variations so three point lighting there’s a lot of variations between moving Parts you might not even use a light you can change the angle you can change it you can break up the rules but the key is to make an attractive very nice three-dimensional style lighting background lights are variations lots of things you can put in your Arsenal hopefully that’s helpful we’ll see you next time on better picks in a few clicks thanks for watching better picks in just a few clicks make sure you hit that like button and subscribe to see more videos on how to take your photography to the next level
Thanks for sharing!